Over the recent snowy weekend, I started to sow my first batch of seeds of the year, which I always start at this time of the year (mid February). Having already sorted through all the seeds I've managed to collect, earlier in the month, I then got to prepping for this years vegetable sowing.
Photo: Laura Lunt Date: February 2012Tools6cm Pots
Compost (peat free)
Spoon
Watering Can
Newspaper
Label Sticks / Pen
Seed Trays
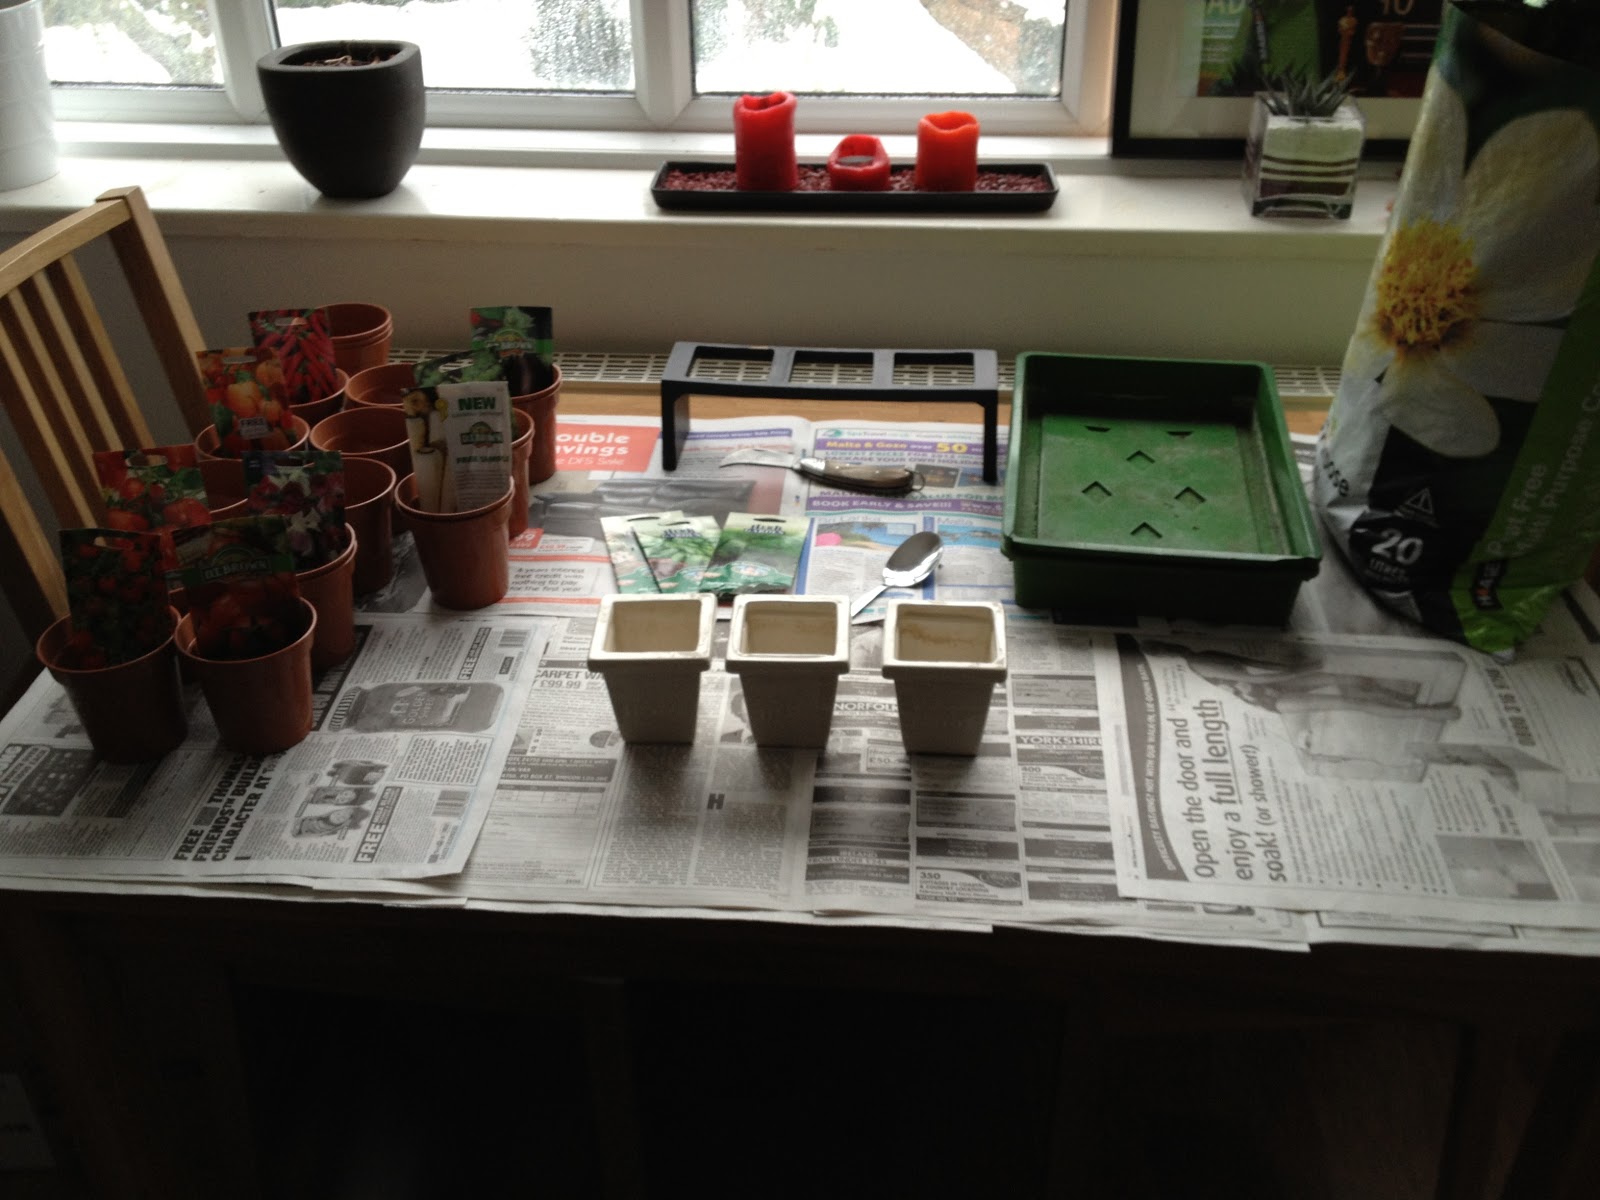
As I only have a small balcony, seed sowing for me, usually happens on my dinning room table, which is covered with newspaper. Having selected the types of vegetables I wanted to grow (see picture & list below), I would have normally sown these into my propagator, into individual pods, but this year I have decided to sow the seeds into small 6cm pots, as I have a lot of different vegetables I'd like to sow.
I filled each pot with peat free compost, leaving a 1.5cm gap from the top, watered them and then added 5-7 seeds to each separate pot, making sure I added a label stick so I knew what was in each pot. A small layer of compost was then laid on top of the seeds and these were then placed into a seed tray. After all the seeds were sown, and they had been carefully placed in seed trays and then placed on a south-east facing windowsill, around 2cms of water was added to the trays, and has been carefully topped up when needed.
Photo: Laura Lunt Date: February 2012Vegetable SeedsTomatoes (x3 varieties) - Moneymaker / Gardeners Delight and
Roma VF (Plum)Chilies (x5 varieties) - Thai Dragon / Inferno / Tabasco /
Pepper (Hot) Hotscotch and
Pepper CayennePeppers (sweet)
Parsnip Duchess F1 Brussels Sprout Evesham SpecialSweet Pea (Old Spice Mixed)Aubergines Black Beauty OrganicHerb SeedsChives
Basil Sweet Genovese
Dill
I haven't covered these with any form of lid, as I'd like to see how they do without this, and as they are in the sunniest part of the flat, over a radiator, I'm sure it won't harm them. In fact, its now been a week since these have been sown and I already have Sprout and Sweet Pea seedlings appearing.
Photo: Laura Lunt Date: February 2012The herb seeds were sown into re-useable herb pots, which my boyfriend bought last year. The pots were put through the dishwasher, before being used again. As with the vegetable seeds these were also filled with peat free compost, watered, seeds added and then filled with more compost, and then watered again.
Photo: Laura Lunt Date: FebruaryNow everything is happily sitting on the windowsill and I just have to wait for even more little seedlings to appear over the coming weeks and the sun to come out.